How to Refresh Your Mini or Maxi Scooter
 Do you have a scooter that’s looking a little rough after all your adventures? Not to worry! Micro scooters are easy to fix up with affordable replacement parts and minimal know-how. In this post we’ll walk you through some common fixes, helping you to feel confident in your ability to keep your Micro in tip-top shape from wheels to grips for years to come!
The first step to keep your scooter looking fresh is a good ol’ cleaning every once in a while. Here are our top tips for regular maintenance.
Tips:
- Wipe down with wet cloth or Clorox wipe
- Check wheels for debris or hair
- Check wheels for flat spots
- Use the brake only to stop/ ride at a speed where you don’t have to ride the brake
- Store in dry, cool place
- Check for clamp tightness/ adjust handle to fit between belly button and mid-ribs

Since they’re made with such excellent construction, Micro scooters can truly last a lifetime. Over the years you’ll want to swap out a part or two to keep your Micro riding like new! We’ve listed out a few common parts that are easy to repair at home.
Our parts are easy to find. Either search for the part (for example: “mini front wheel”) in our search bar, or select your scooter on our Parts page and find parts listed out by model.
Repairs

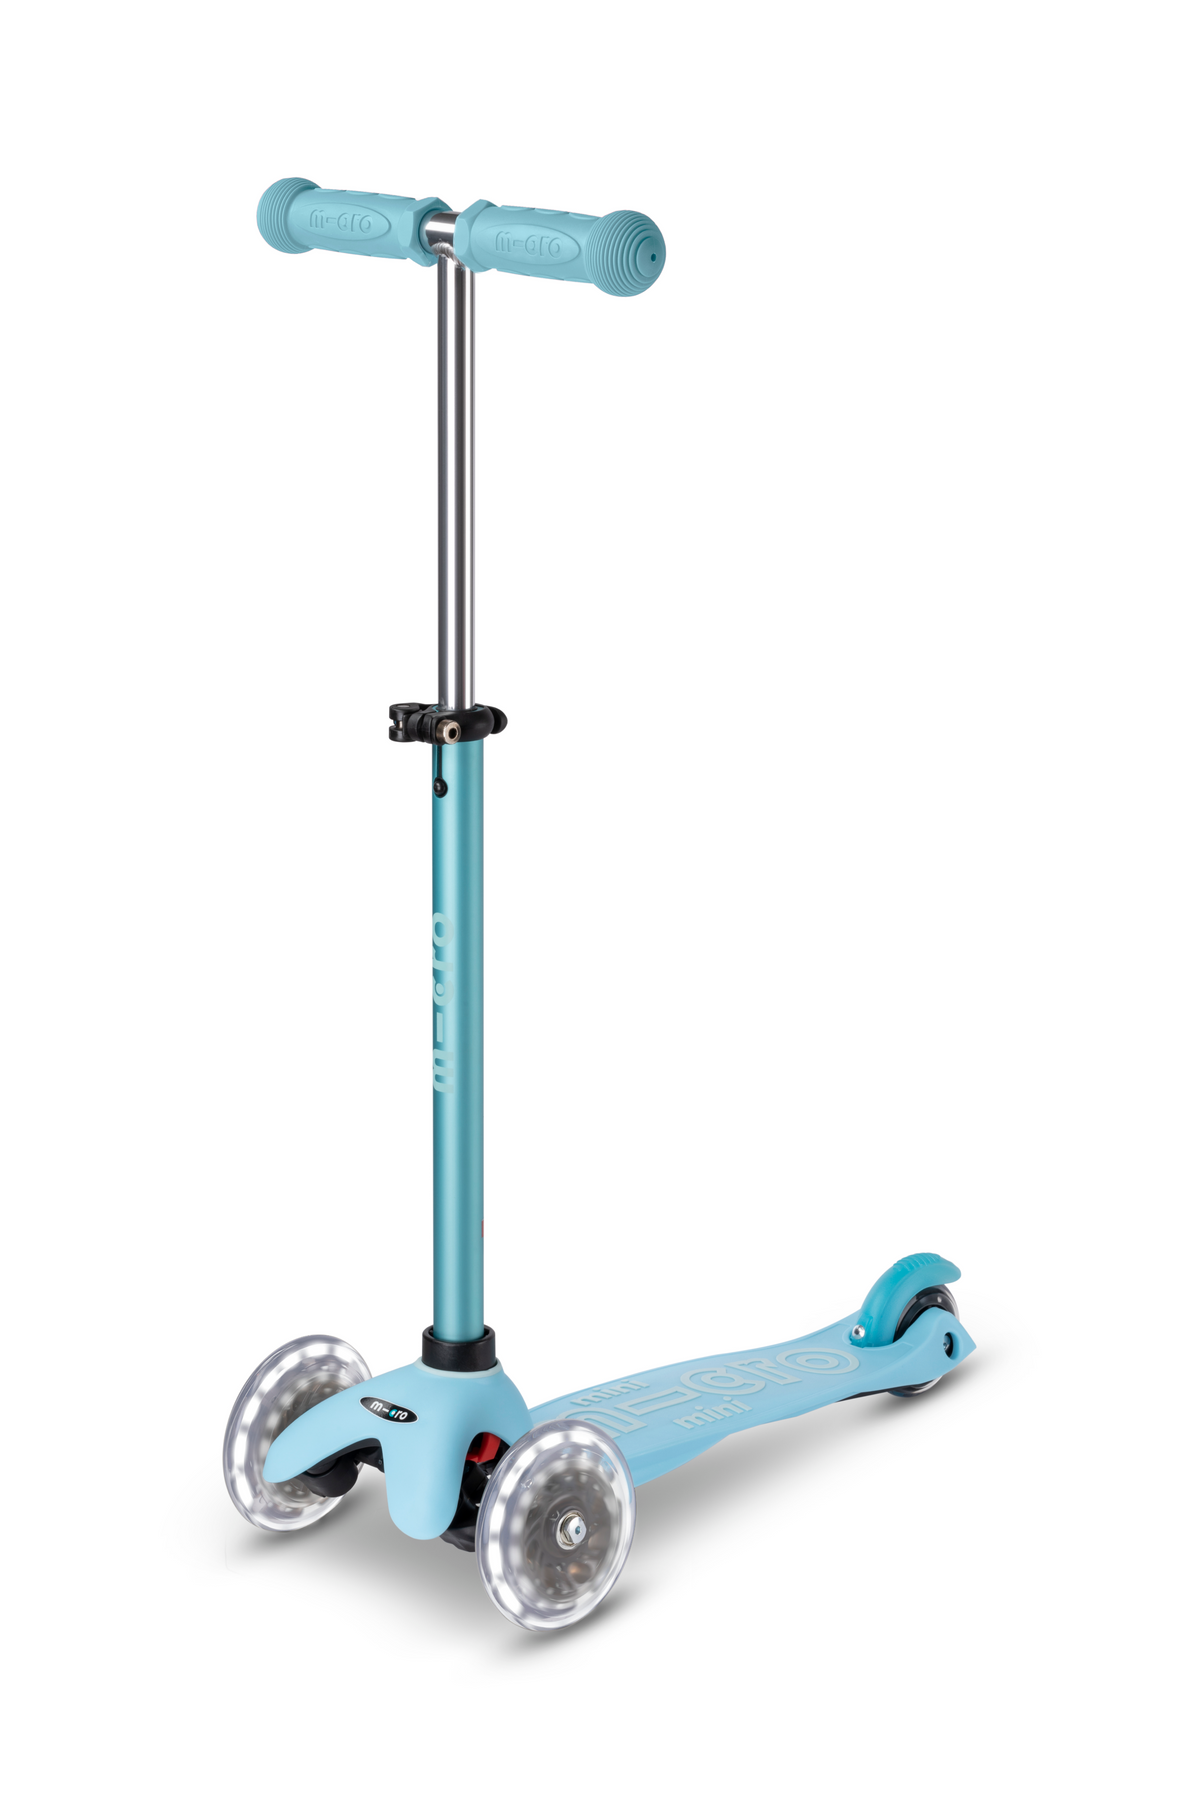
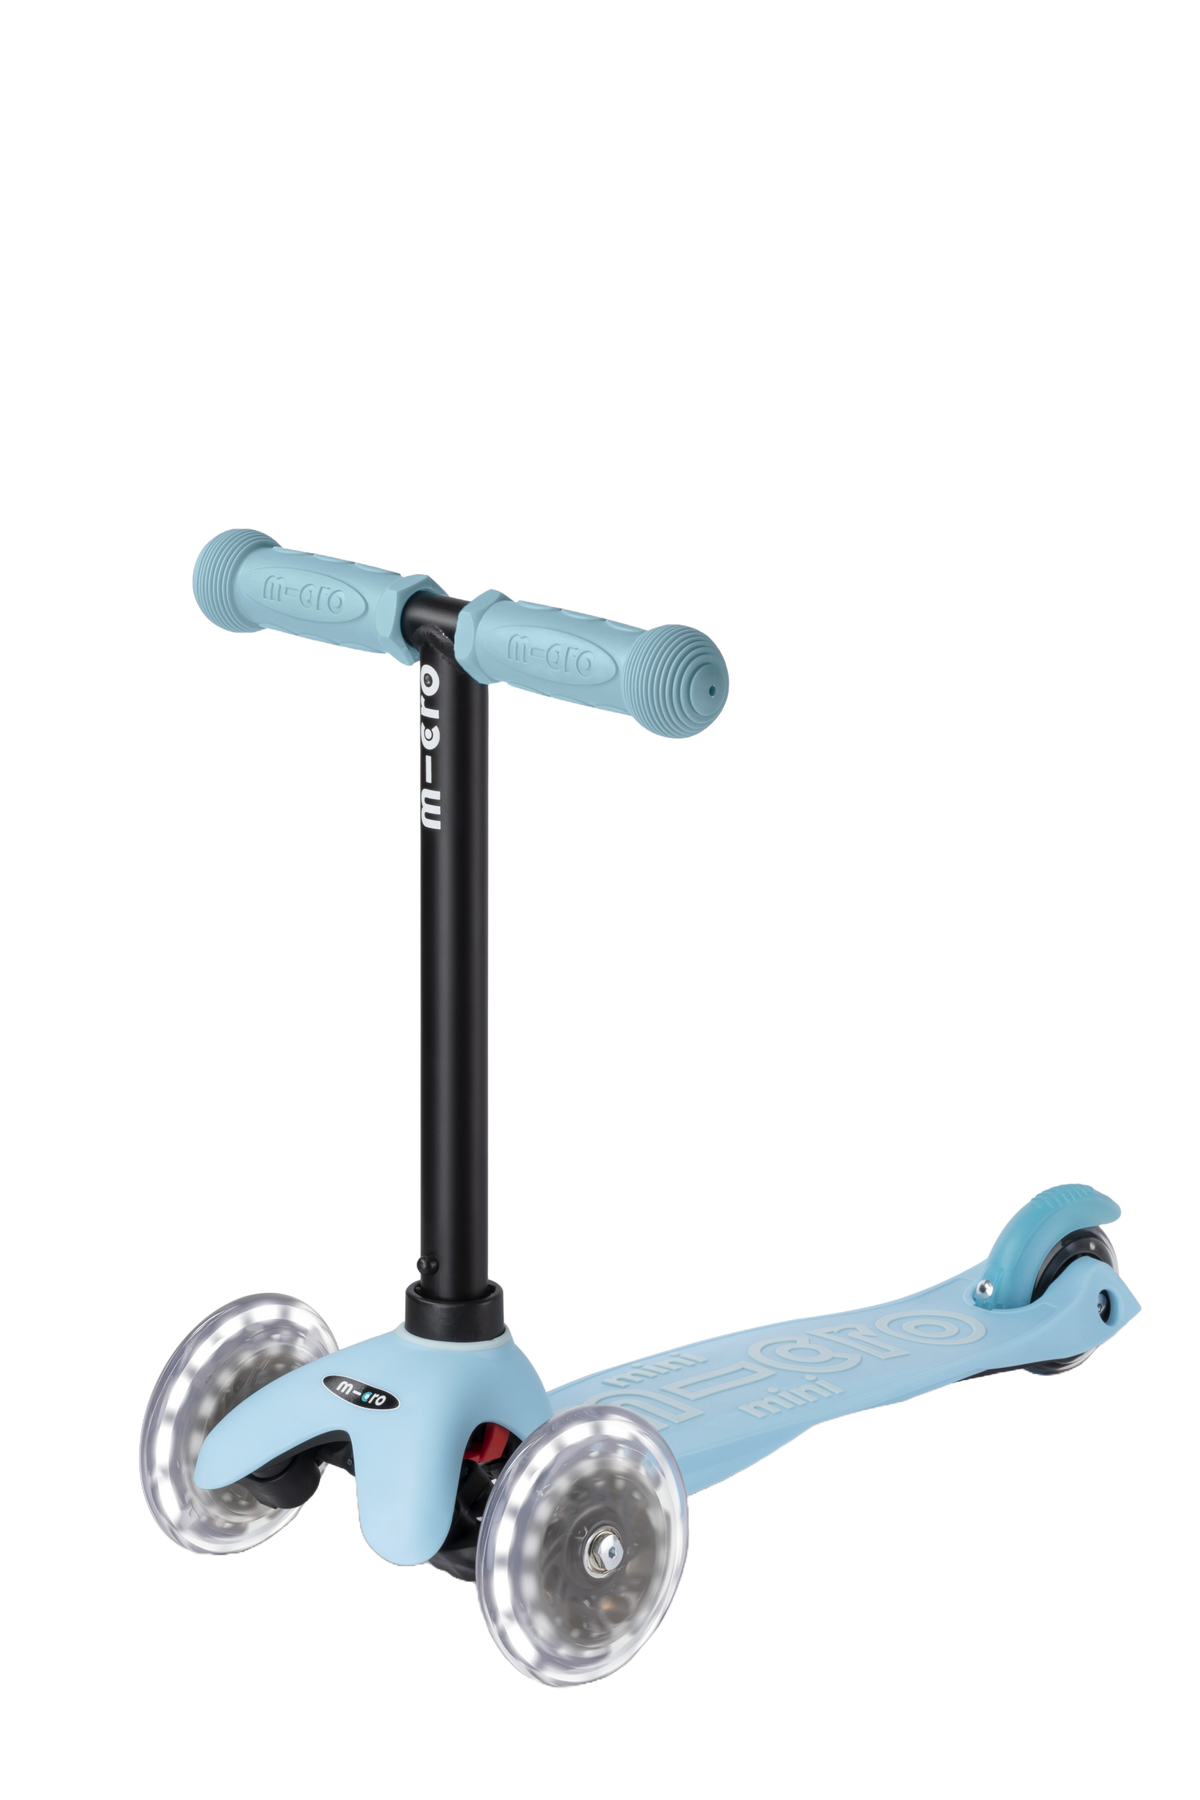
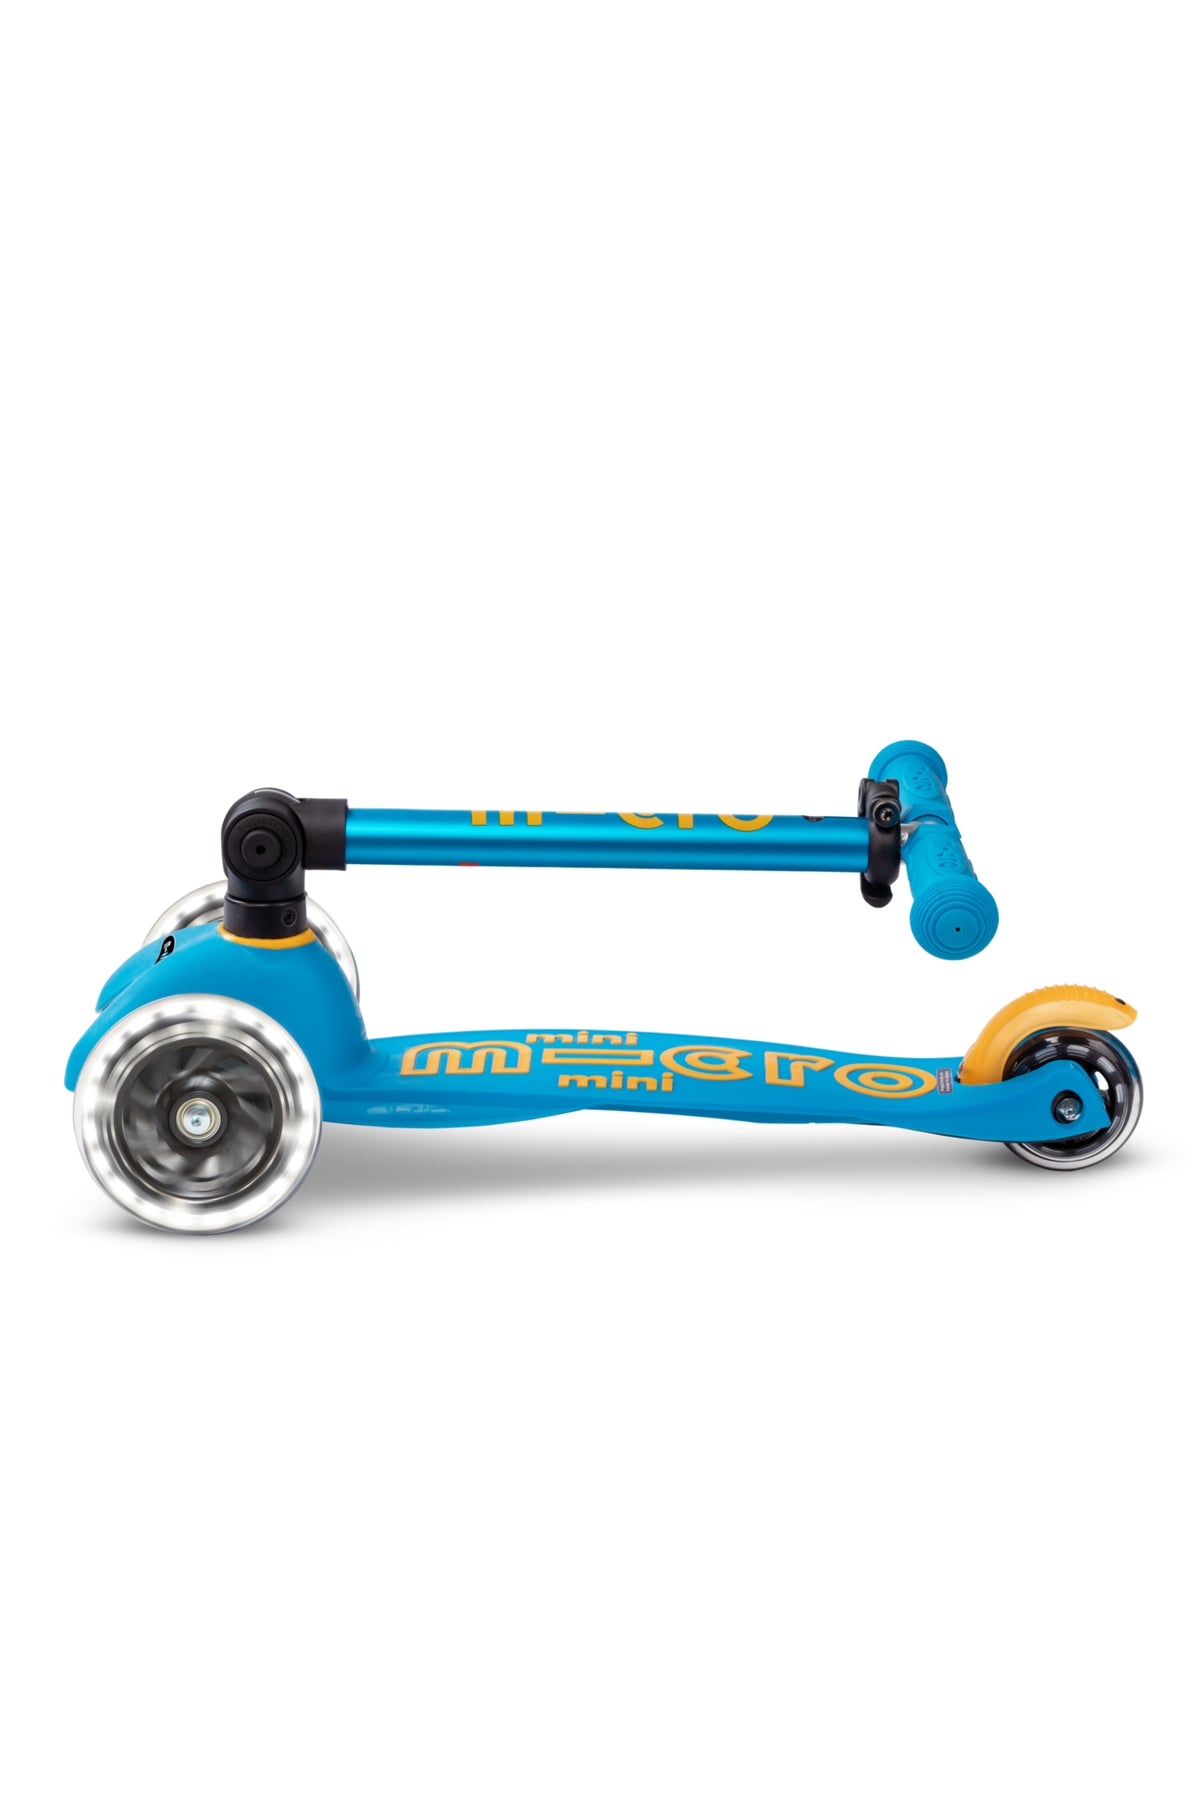
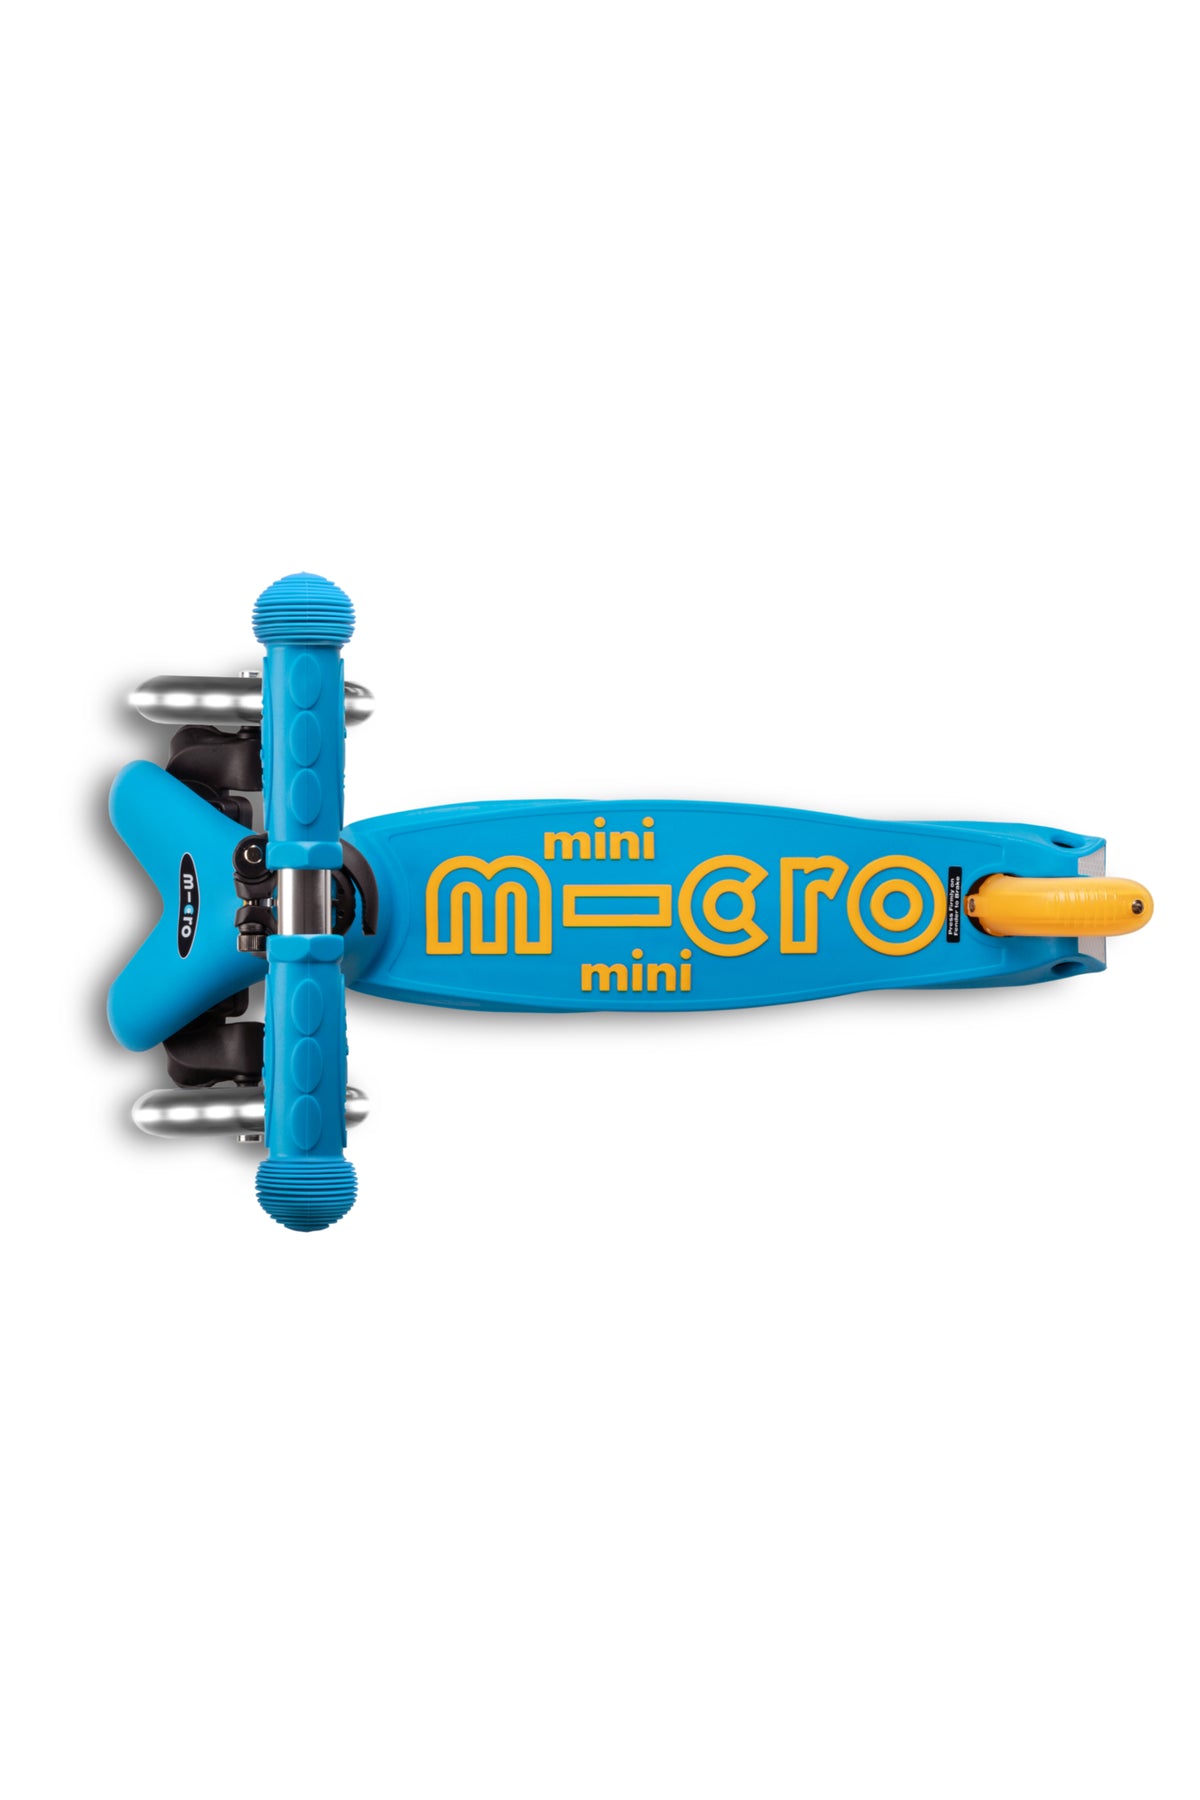
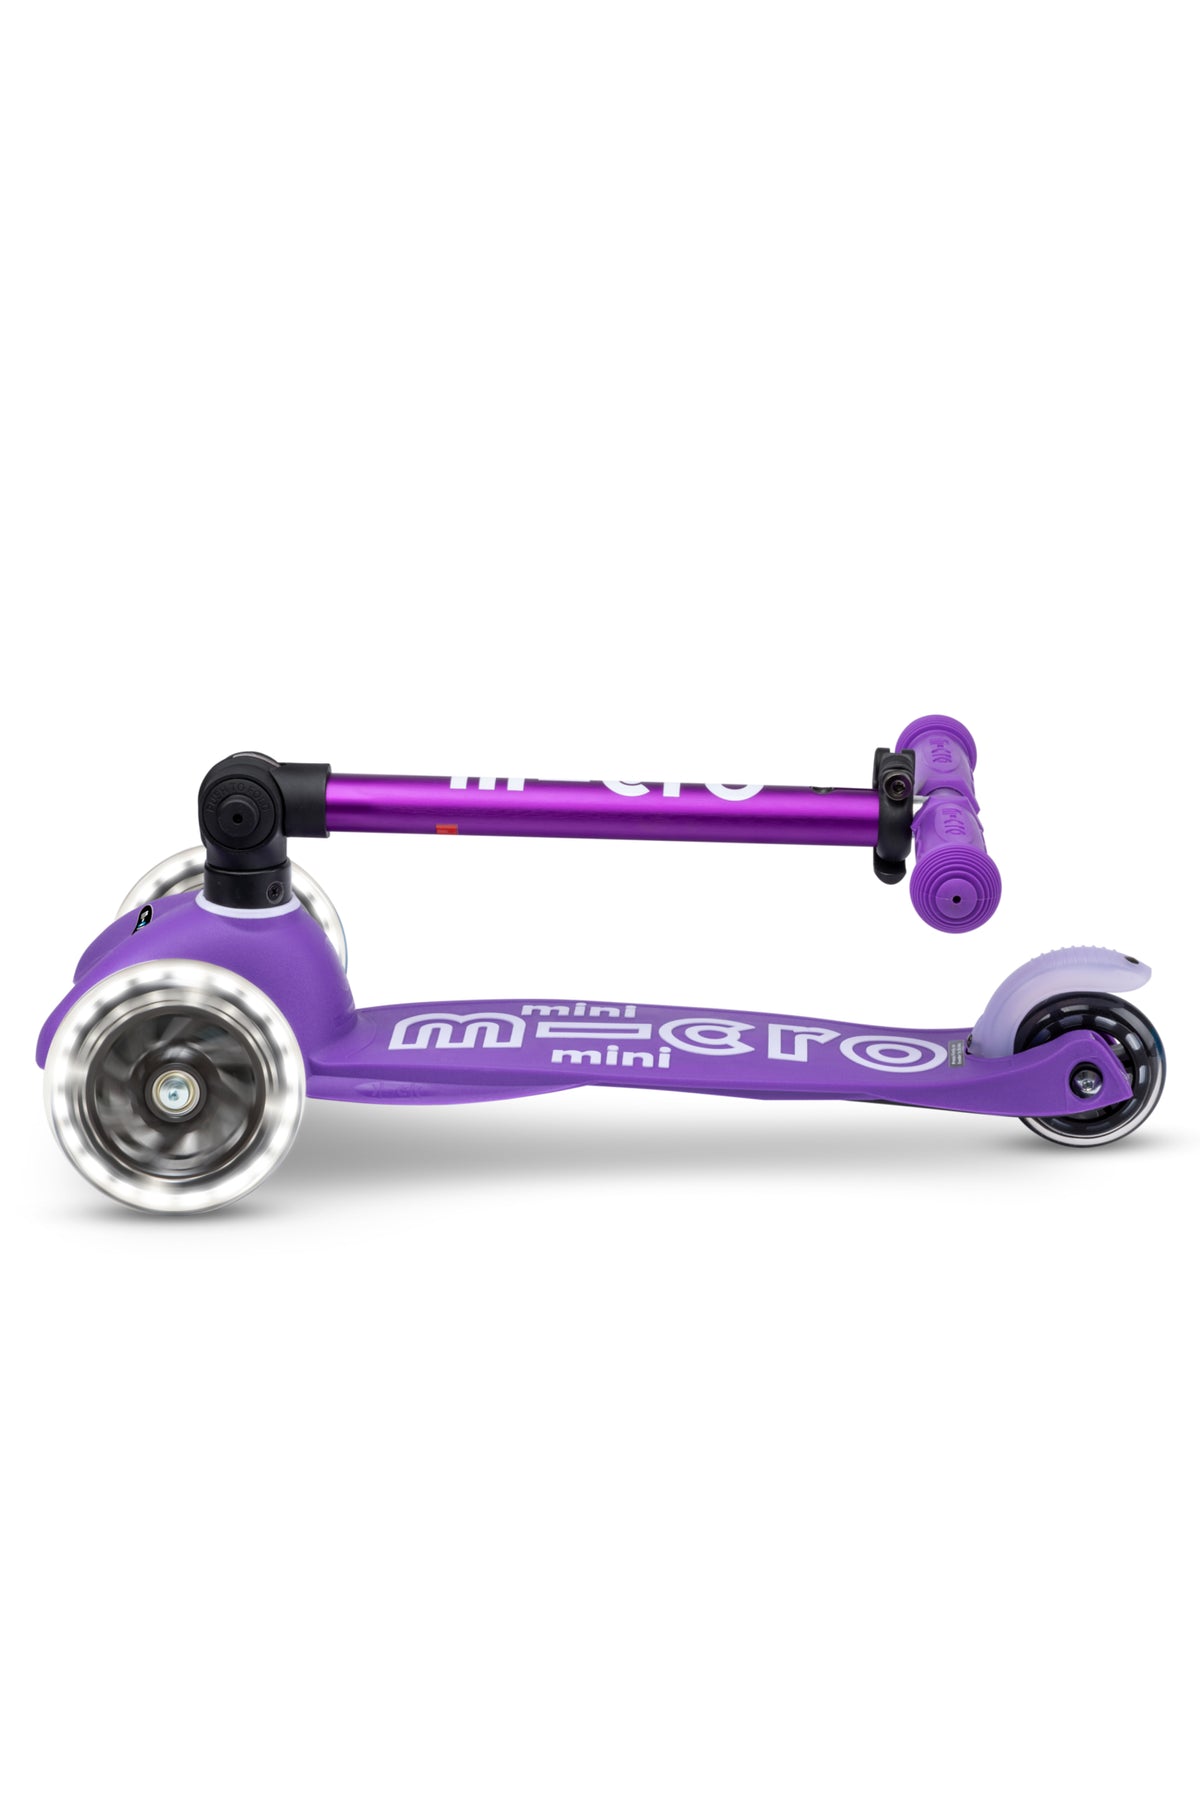
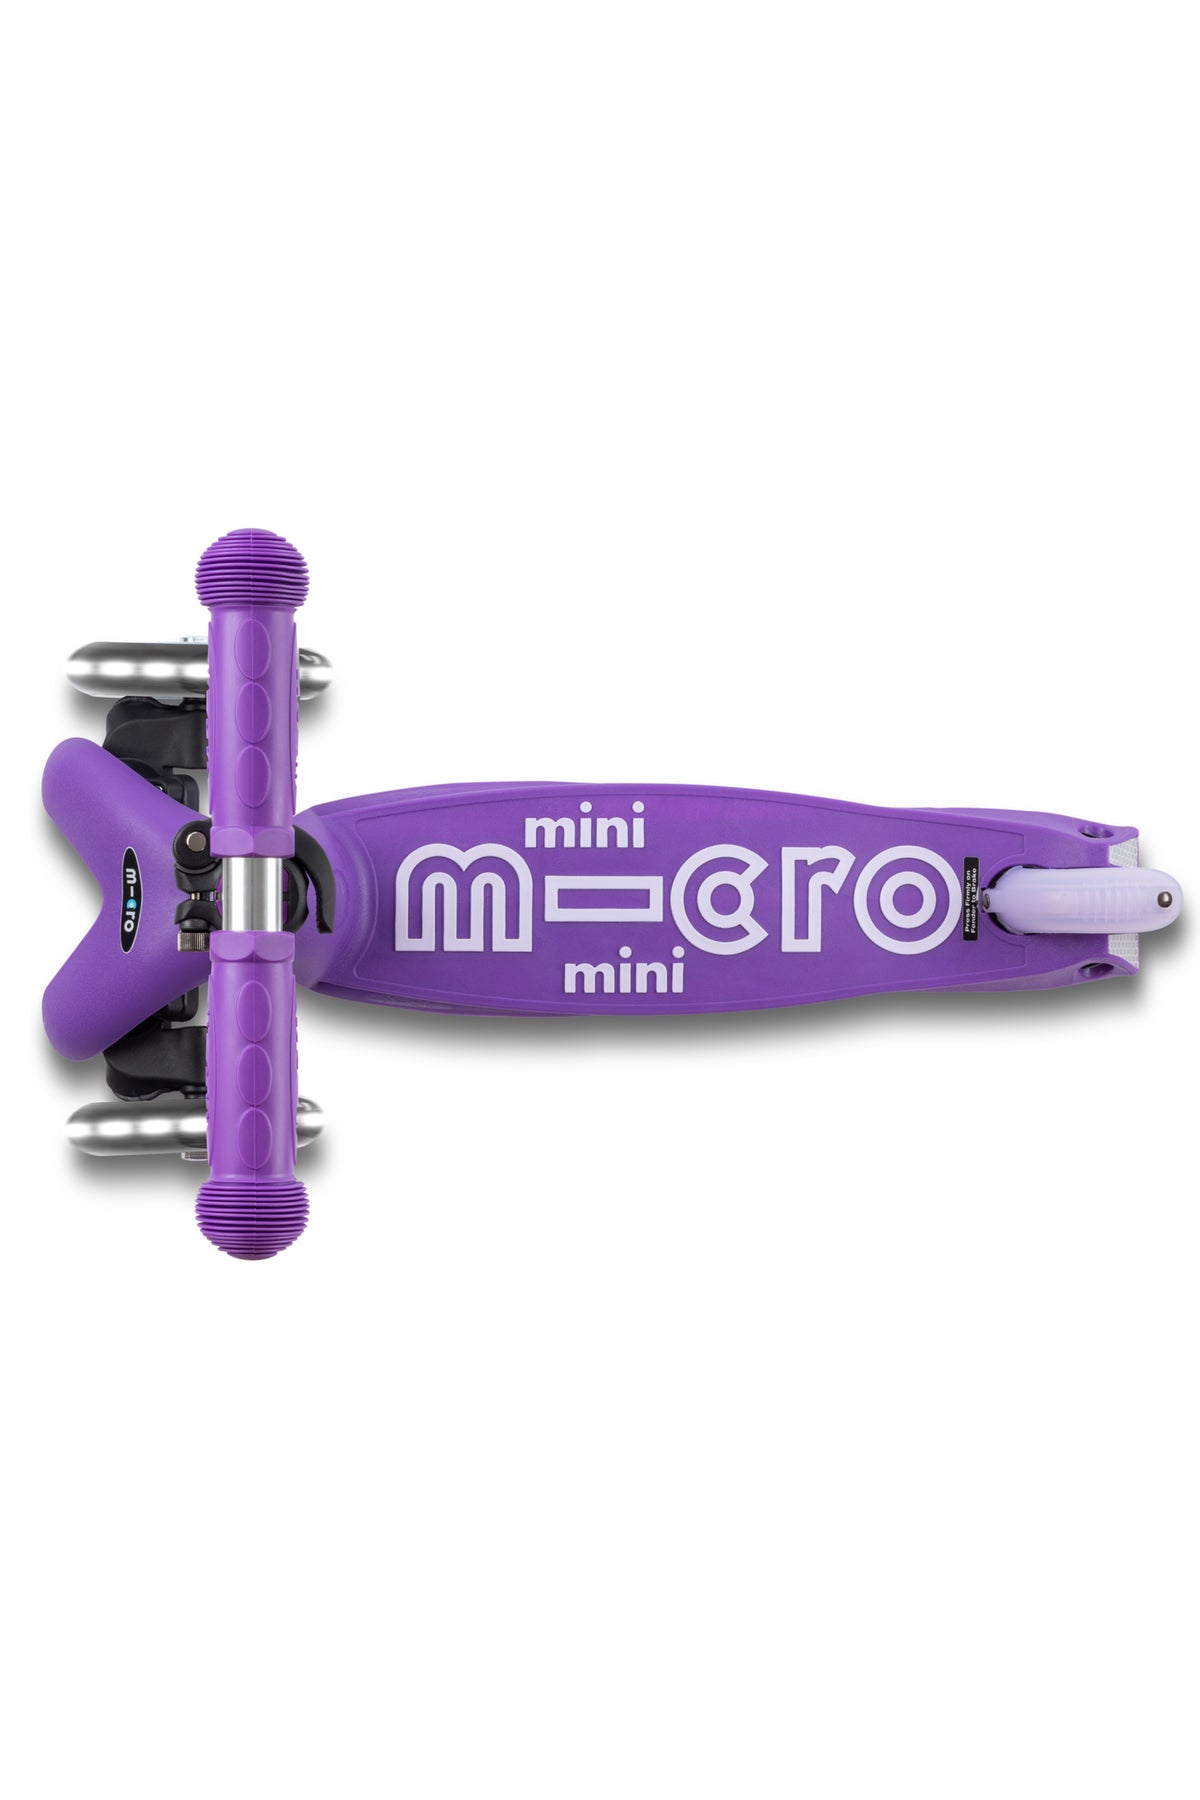
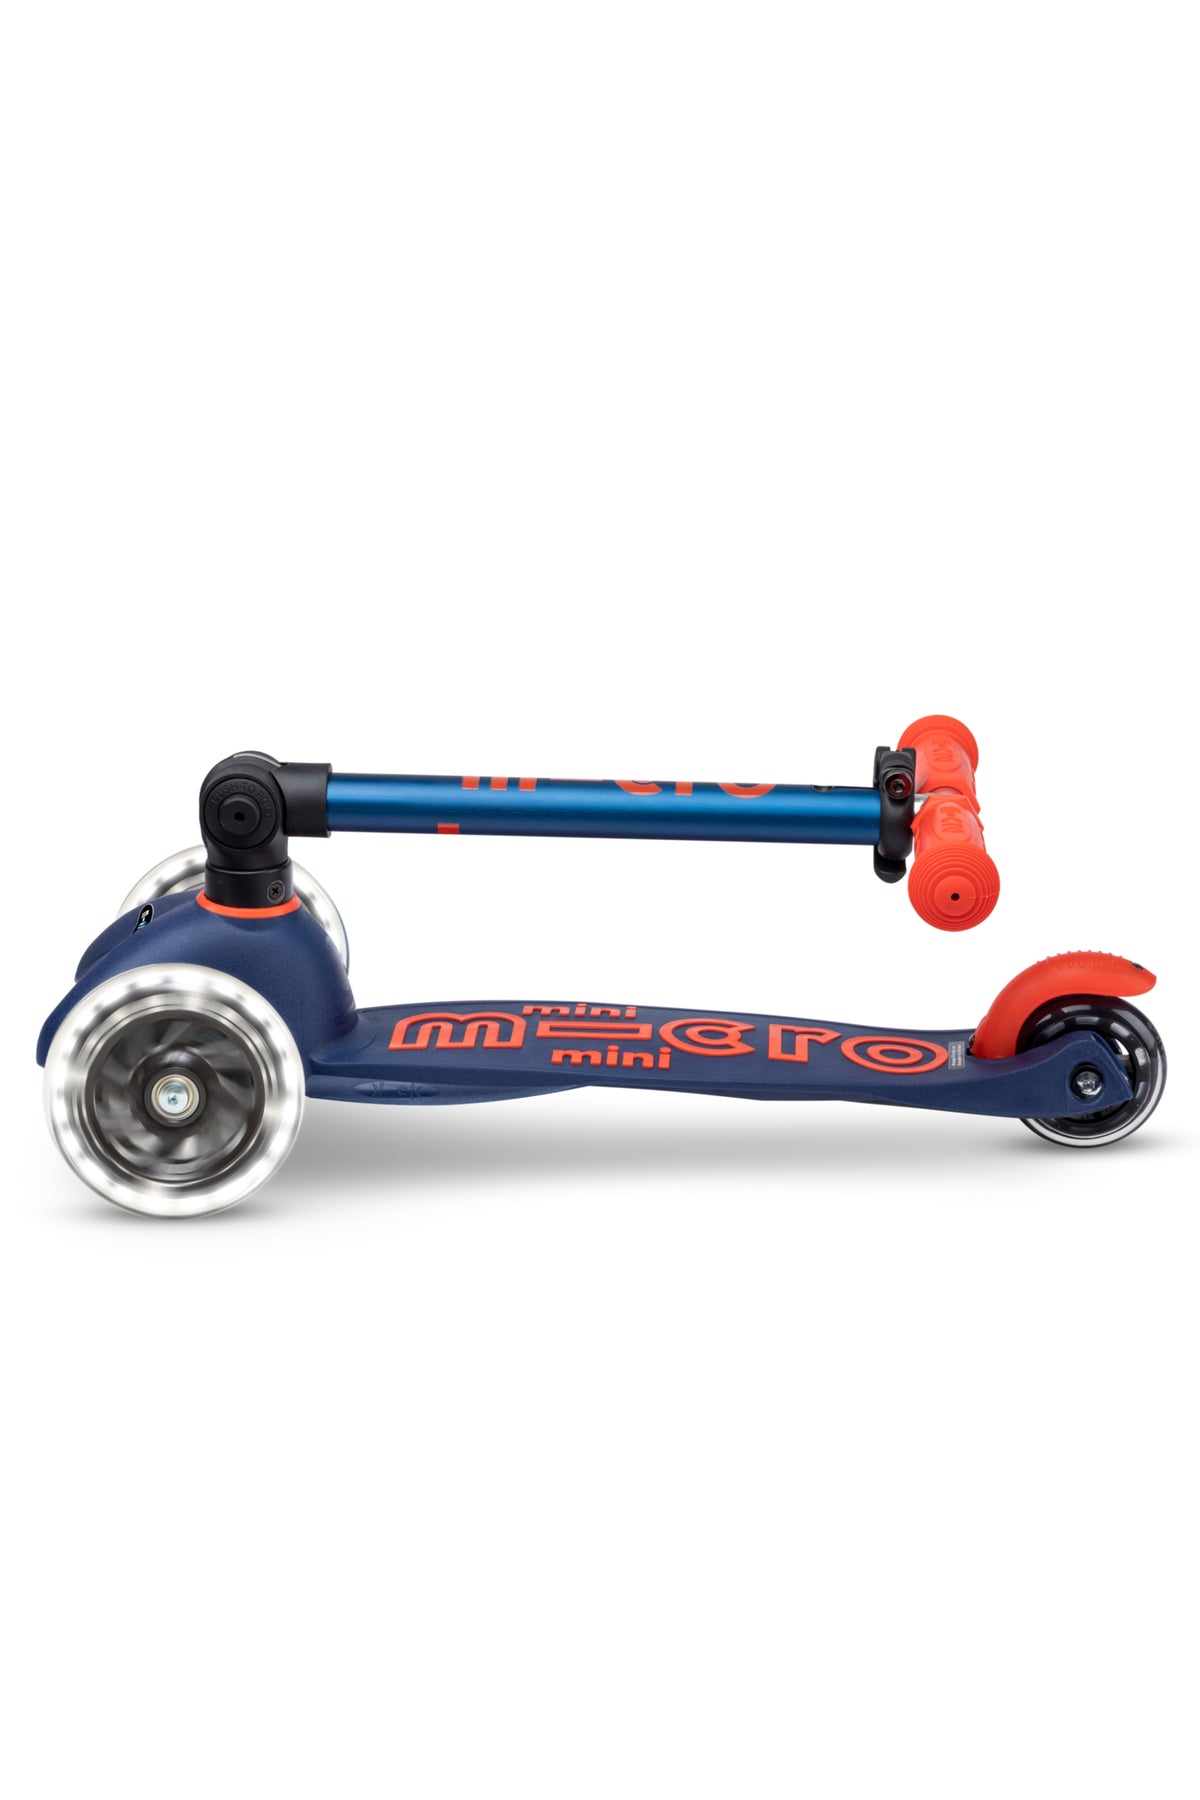
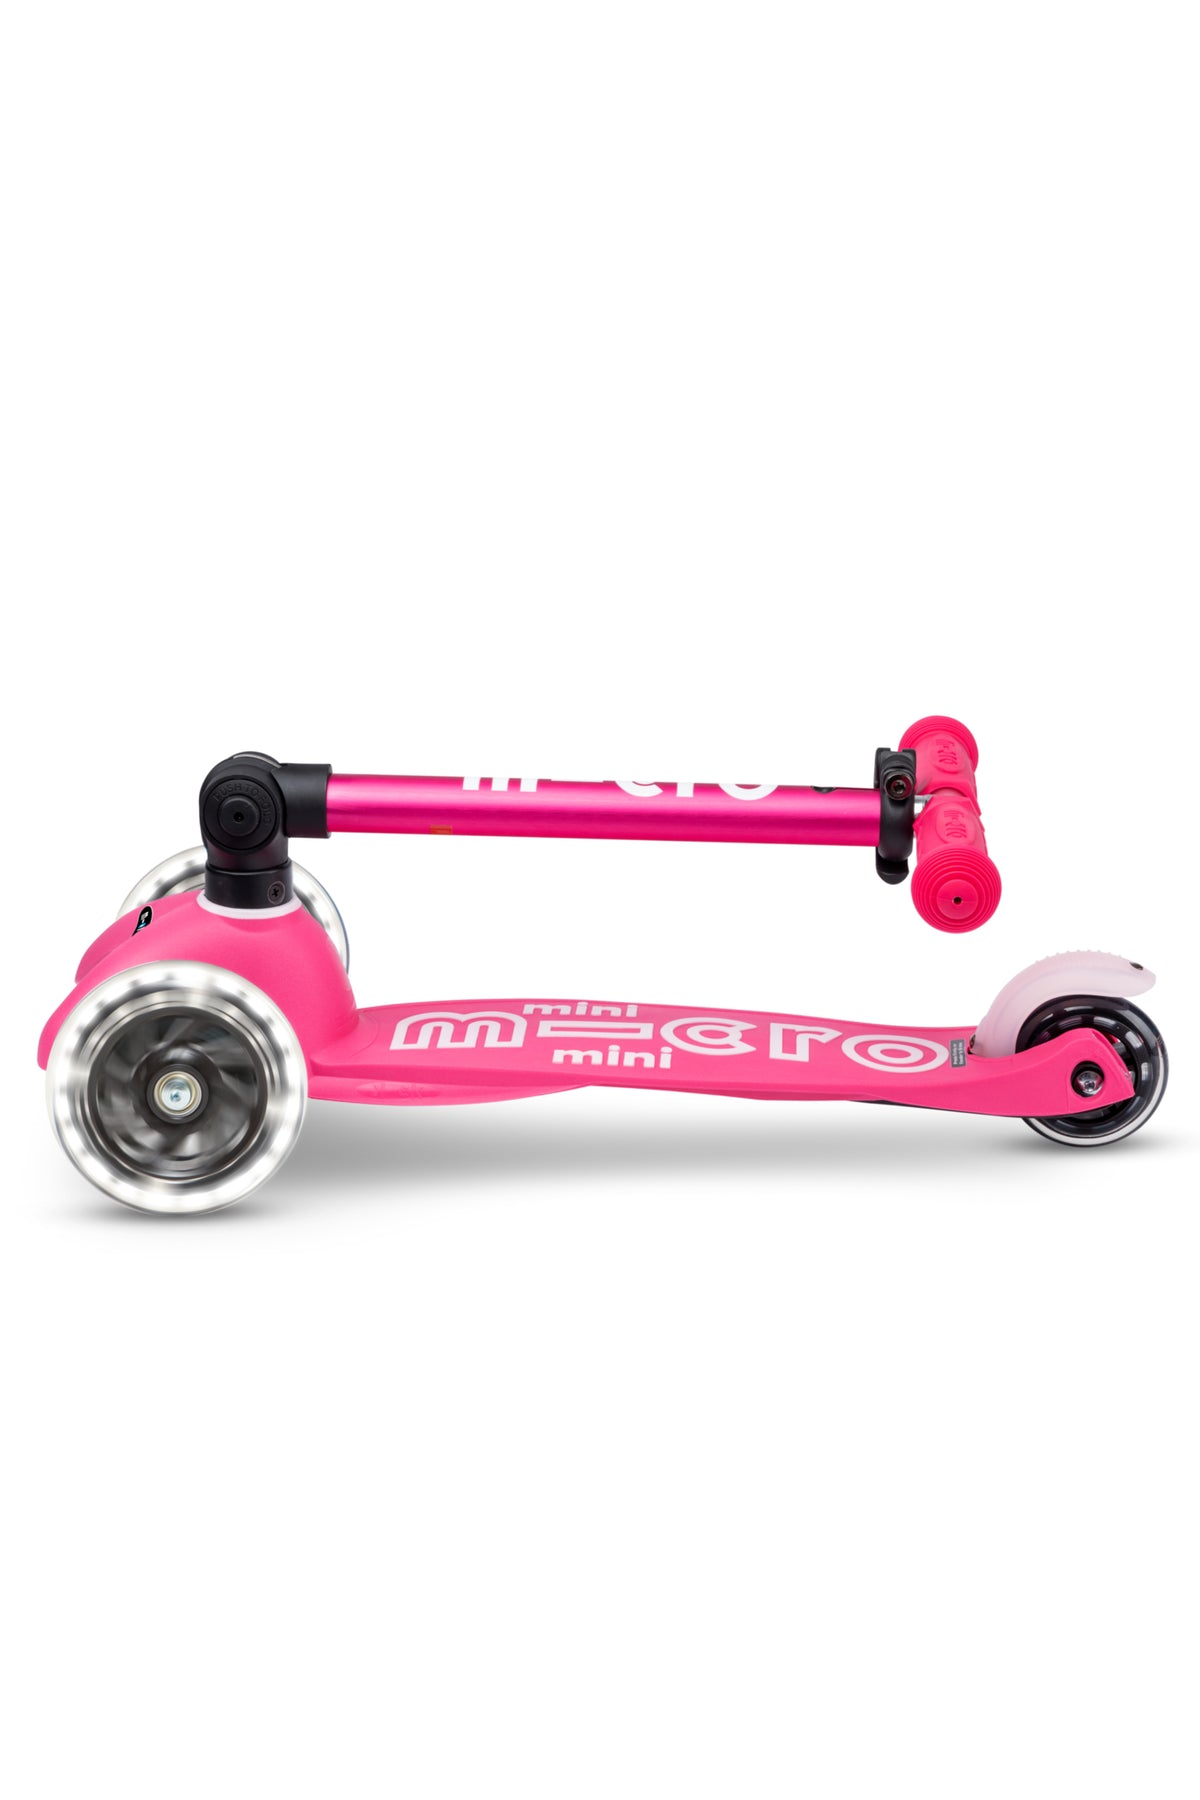
Front and rear wheels: When bumpy sidewalks and miles of adventure wear down wheels, it’s easy to replace them. Each long-lasting wheel comes with the bearings and spacer pre-installed to make it easy to upgrade your ride. You’ll just to use a No. 4 hex key to hold the back of axle in place and use a wrench on the other side of the axle to do the actual loosening. Please note that ONLY the left (when standing on the scooter and looking down) wheel is reverse-threaded and will loosen only when turned clockwise (i.e. the opposite of "righty-tighty!).

Brake: This tiny part works hard to keep riders safe in stop-and-go traffic. Check yours for wear periodically and replace when necessary. To install: Detach the scooter's deck by removing the eight deck screws and then use a Phillips-head screwdriver to unfasten the screws, replace the brake, and screw back on!

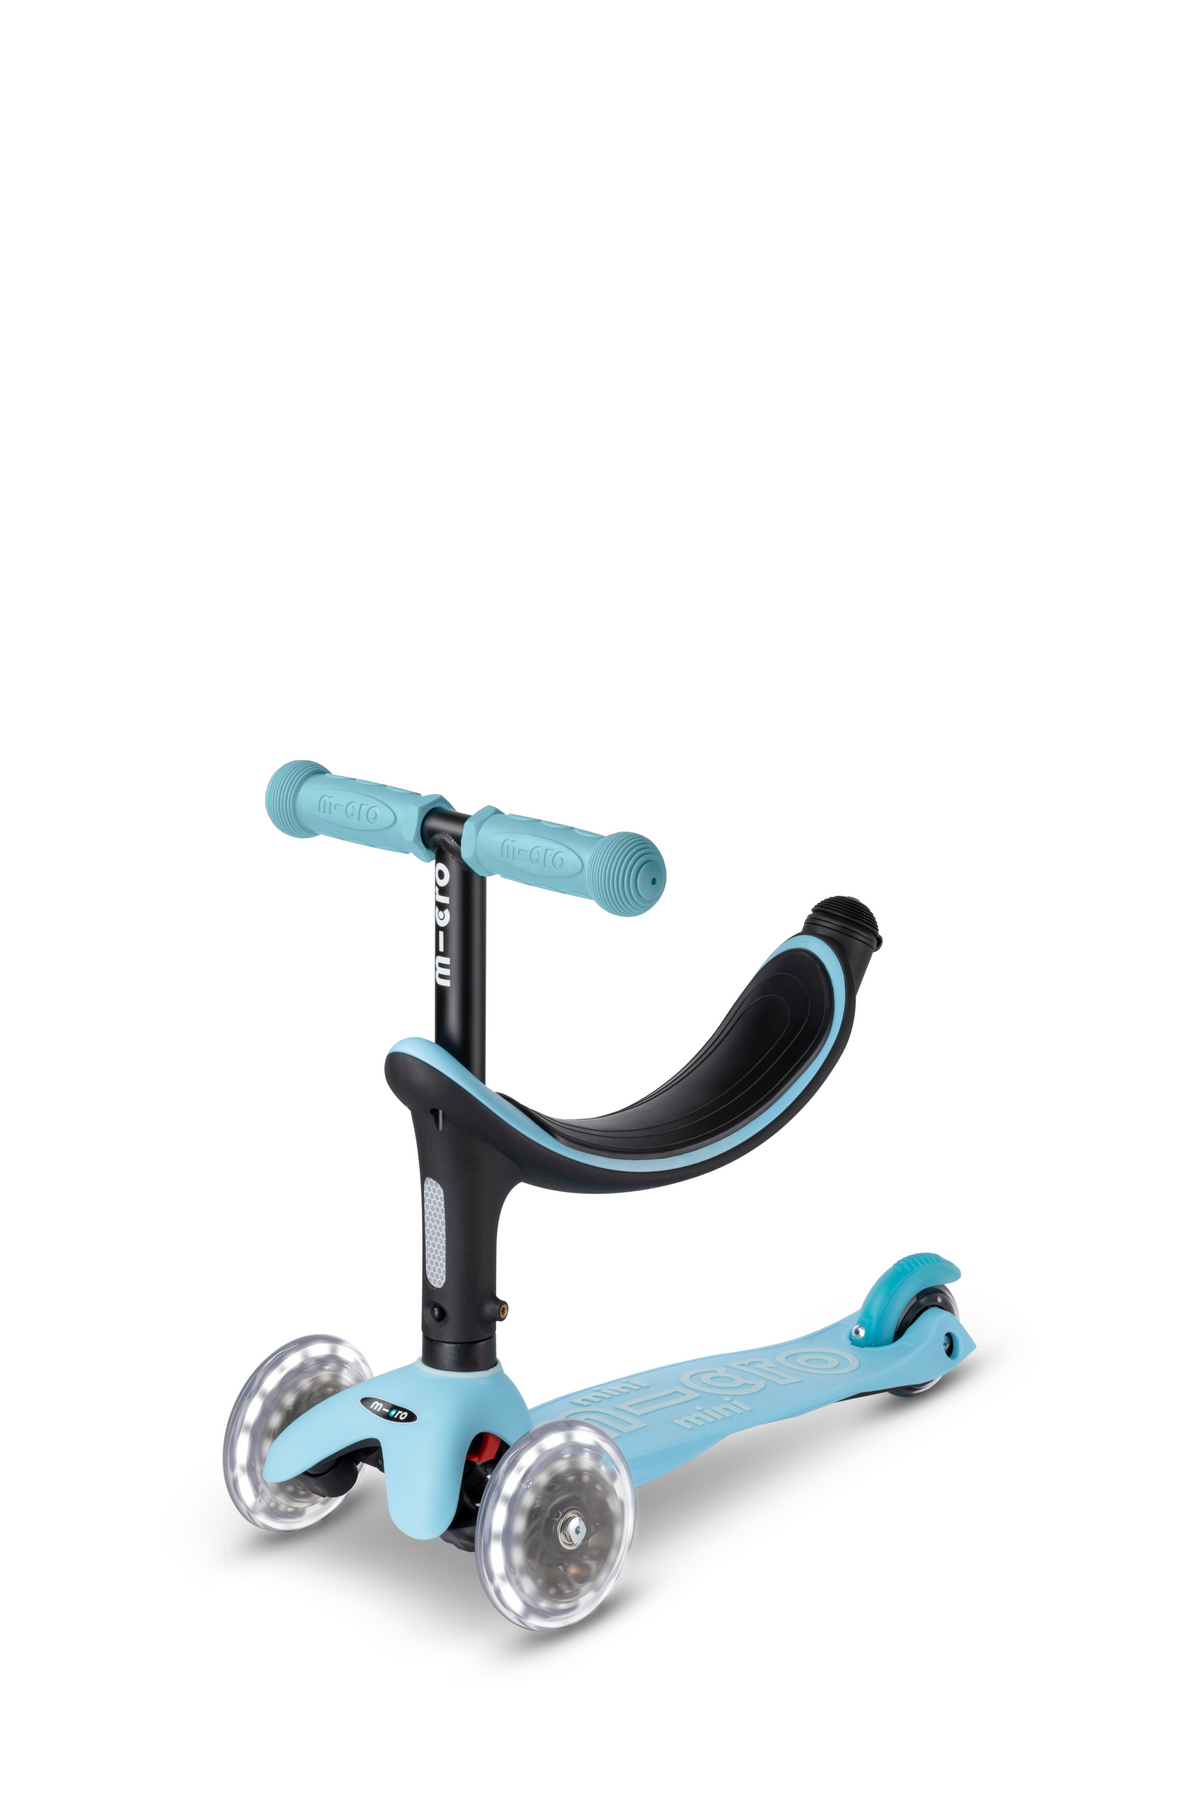
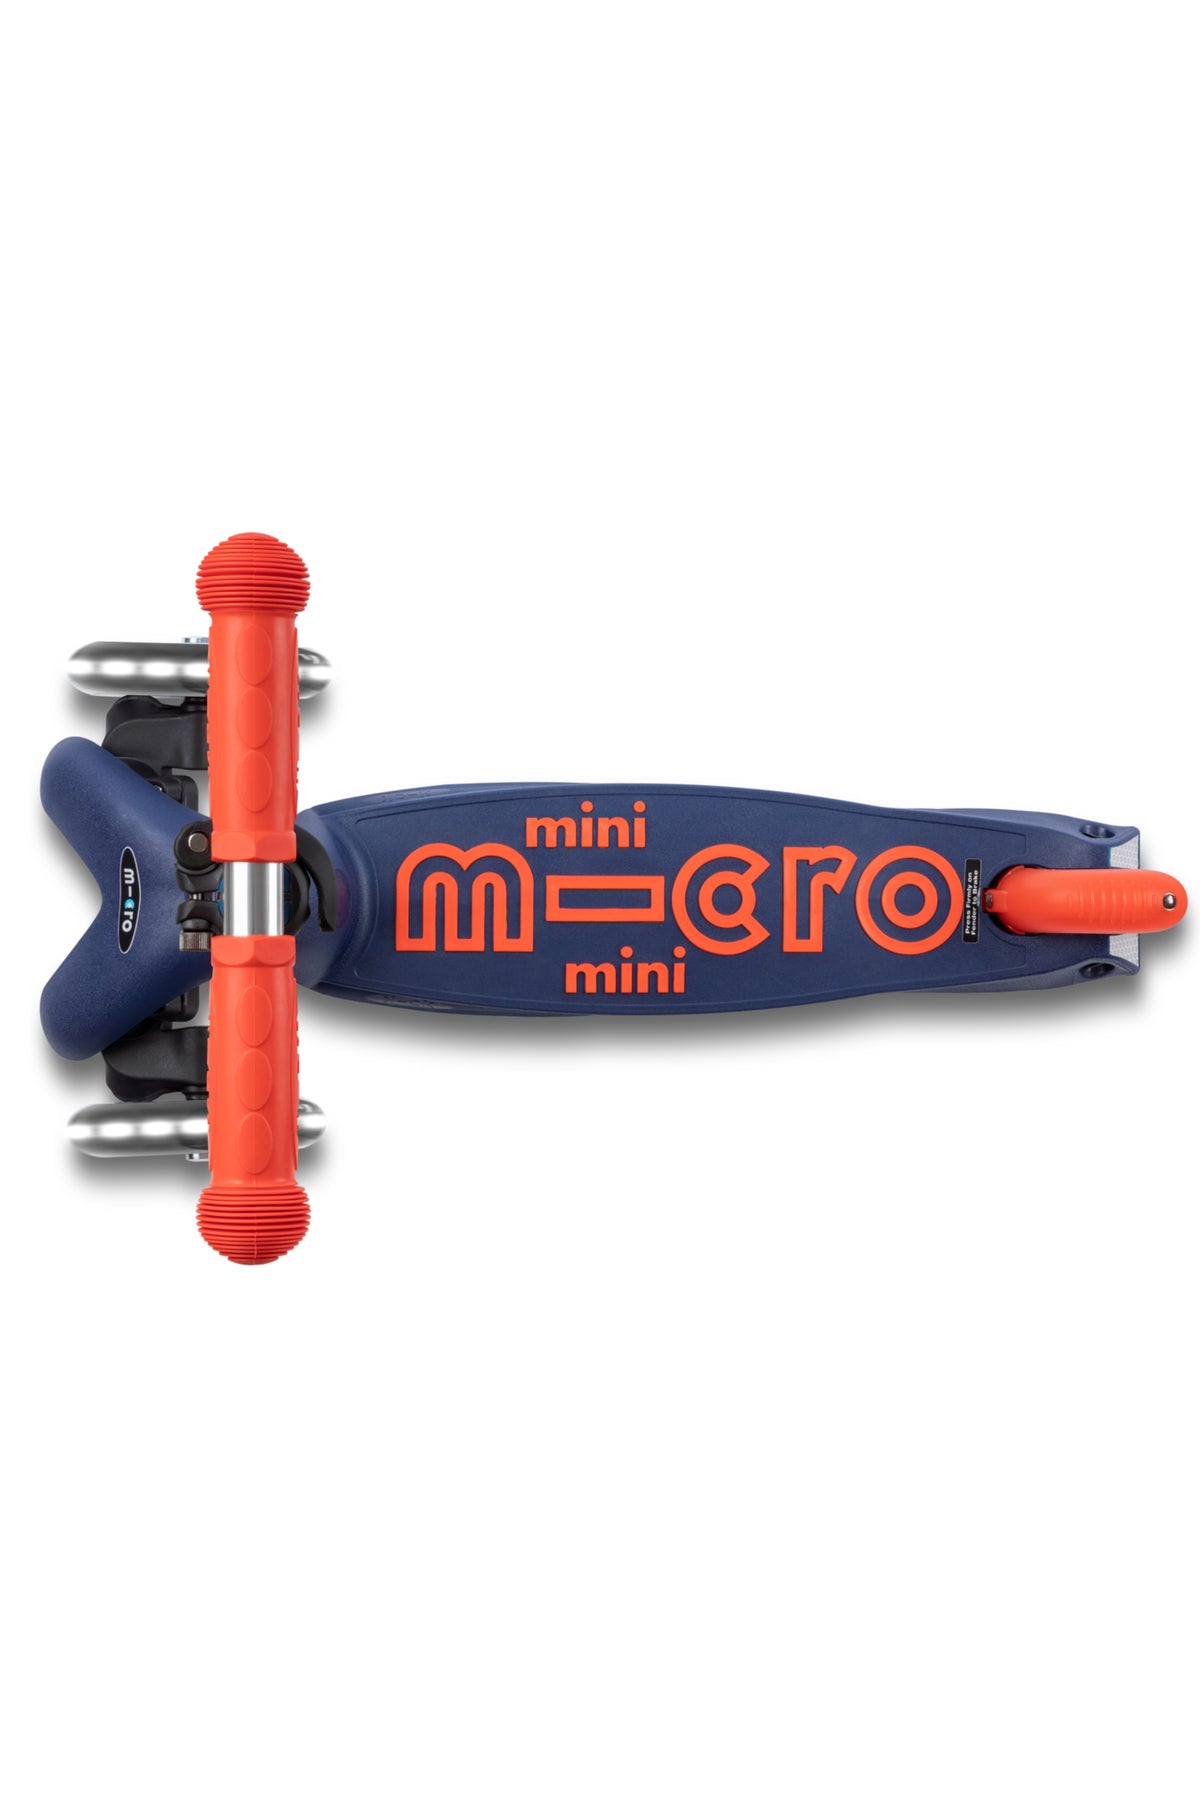
Grips: Never underestimate the power of a grip upgrade! Since riders have two points of contact with their scooter - the deck & grips - it’s important to make sure they’re comfortable! First, assess whether your grips just need some TLC with a wet cloth or Clorox wipe. Sometimes it’s a simple fix! If they still need an upgrade, you’ll need a pair of scissors to remove the grips, some water to lubricate your new pair, and a few minutes to let them dry after sliding the grips onto the T-bar frame. Then you’re ready to roll!
Anyone who has a Micro knows that kids ride them HARD. The great news is that you’ll never have to scrap your scooter. No matter how hard your little one rides, we’ve got your back! Swiss engineering also means that our scooters are made using modular construction, which is just a fancy way to say that all individual parts on a Micro scooter can be isolated and replaced. This helps to make any repairs simple and easy to do at home.